Get Started
⚡Quick Start
Install MongoDB locally OR follow the guide of using MongoDB Atlas here
Install Outerbridge
npm install -g outerbridgeStart Outerbridge
npx outerbridge startIf using MongoDB Atlas
npx outerbridge start --mongourl=mongodb+srv://<user>:<password>@<your-cluster>.mongodb.net/outerbridge?retryWrites=true&w=majorityOpen
http://localhost:3000
🐳 Docker
Clone the repository
git clone https://github.com/Outerbridgeio/Outerbridge.gitGo into
dockerfoldercd Outerbridge && cd dockerStart Docker Compose
docker-compose up -dThis will automatically spins up mongodb and outerbridge containers
Open
http://localhost:3000You can bring the containers down by
docker-compose stopIf using MongoDB Atlas
i.) Create a new variable in .env
MONGO_URL=mongodb+srv://<user>:<password>@<your-cluster>.mongodb.net/outerbridge?retryWrites=true&w=majorityii.) Add the variable
MONGO_URLunderouterbridgesection of docker-compose.ymlversion: '3.1'services:mongo:image: mongoports:- "27017:27017"restart: alwaysenvironment:- MONGO_INITDB_DATABASE=outerbridgeouterbridge:image: outerbridgeio/outerbridgerestart: alwaysenvironment:- MONGO_HOST=${MONGO_HOST}- PASSPHRASE=${PASSPHRASE}- ENABLE_TUNNEL=${ENABLE_TUNNEL}- PORT=${PORT}- MONGO_URL=${MONGO_URL}ports:- "${PORT}:${PORT}"links:- mongovolumes:- ~/.outerbridge:/root/.outerbridgecommand: /bin/sh -c "sleep 3; outerbridge start"iii.) Start Docker Compose
docker-compose up -d
👨💻 Developers
Outerbridge has 3 different modules in a single mono repository.
server: Node backend to serve API logicsui: React frontendcomponents: Nodes and Credentials of applications
Prerequisite
Setup
Clone the repository
git clone https://github.com/Outerbridgeio/Outerbridge.gitGo into repository folder
cd OuterbridgeInstall
lerna,huskyandrimraf:yarn setupInstall all dependencies of all modules and link them together:
yarn bootstrapBuild all the code:
yarn buildStart the app:
yarn startYou can now access the production-ready app on
http://localhost:3000/For development build: yarn dev Any code changes will reload the app automatically on
http://localhost:8080
MongoDB Atlas
Below is the guide on how to use MongoDB Atlas.
Navigate to
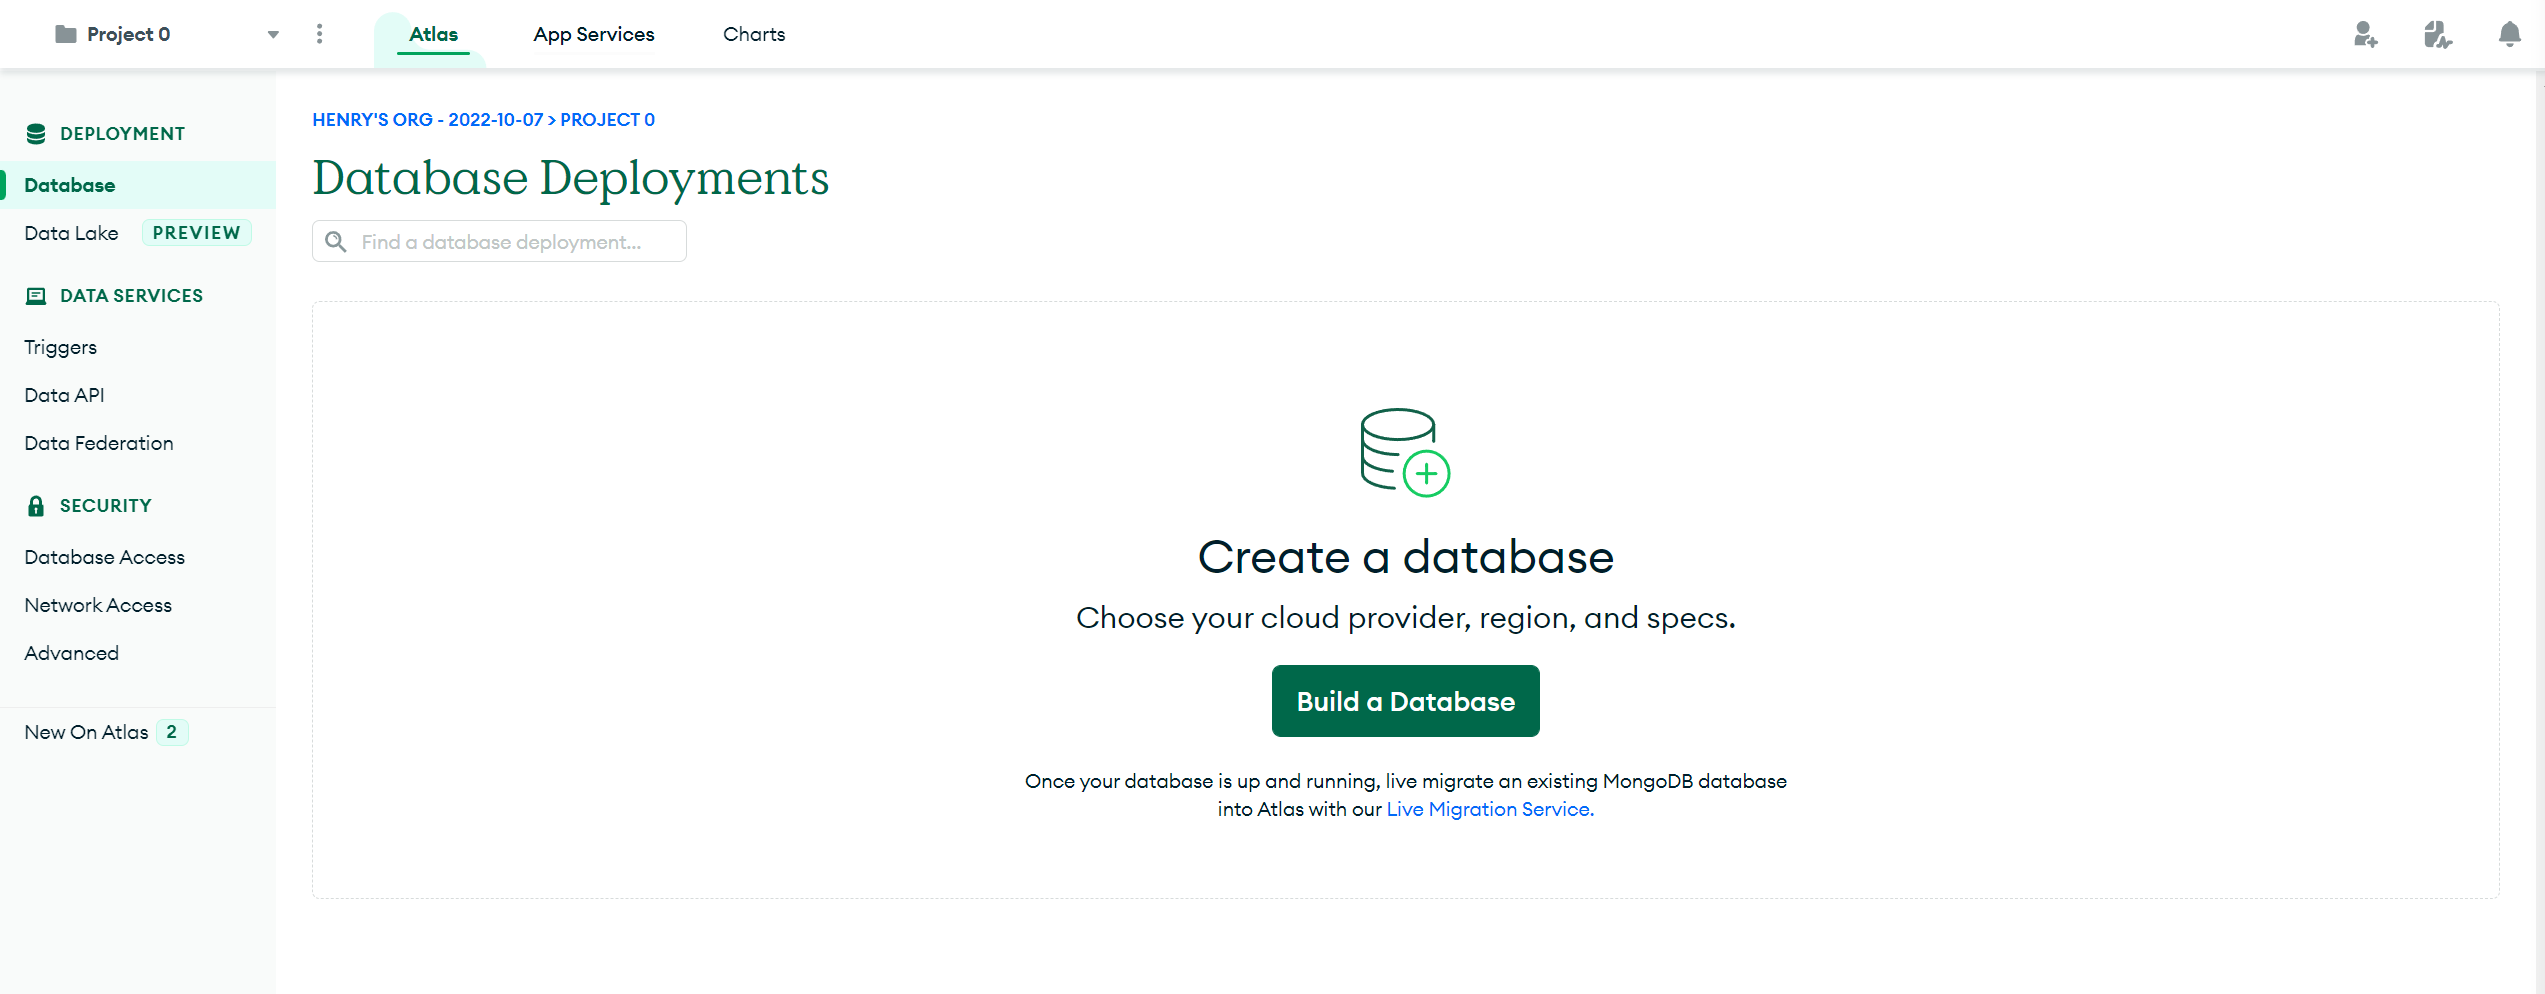
https://www.mongodb.com/atlas/databaseand register an accountAfter logging into dashboard, click Create or Build database
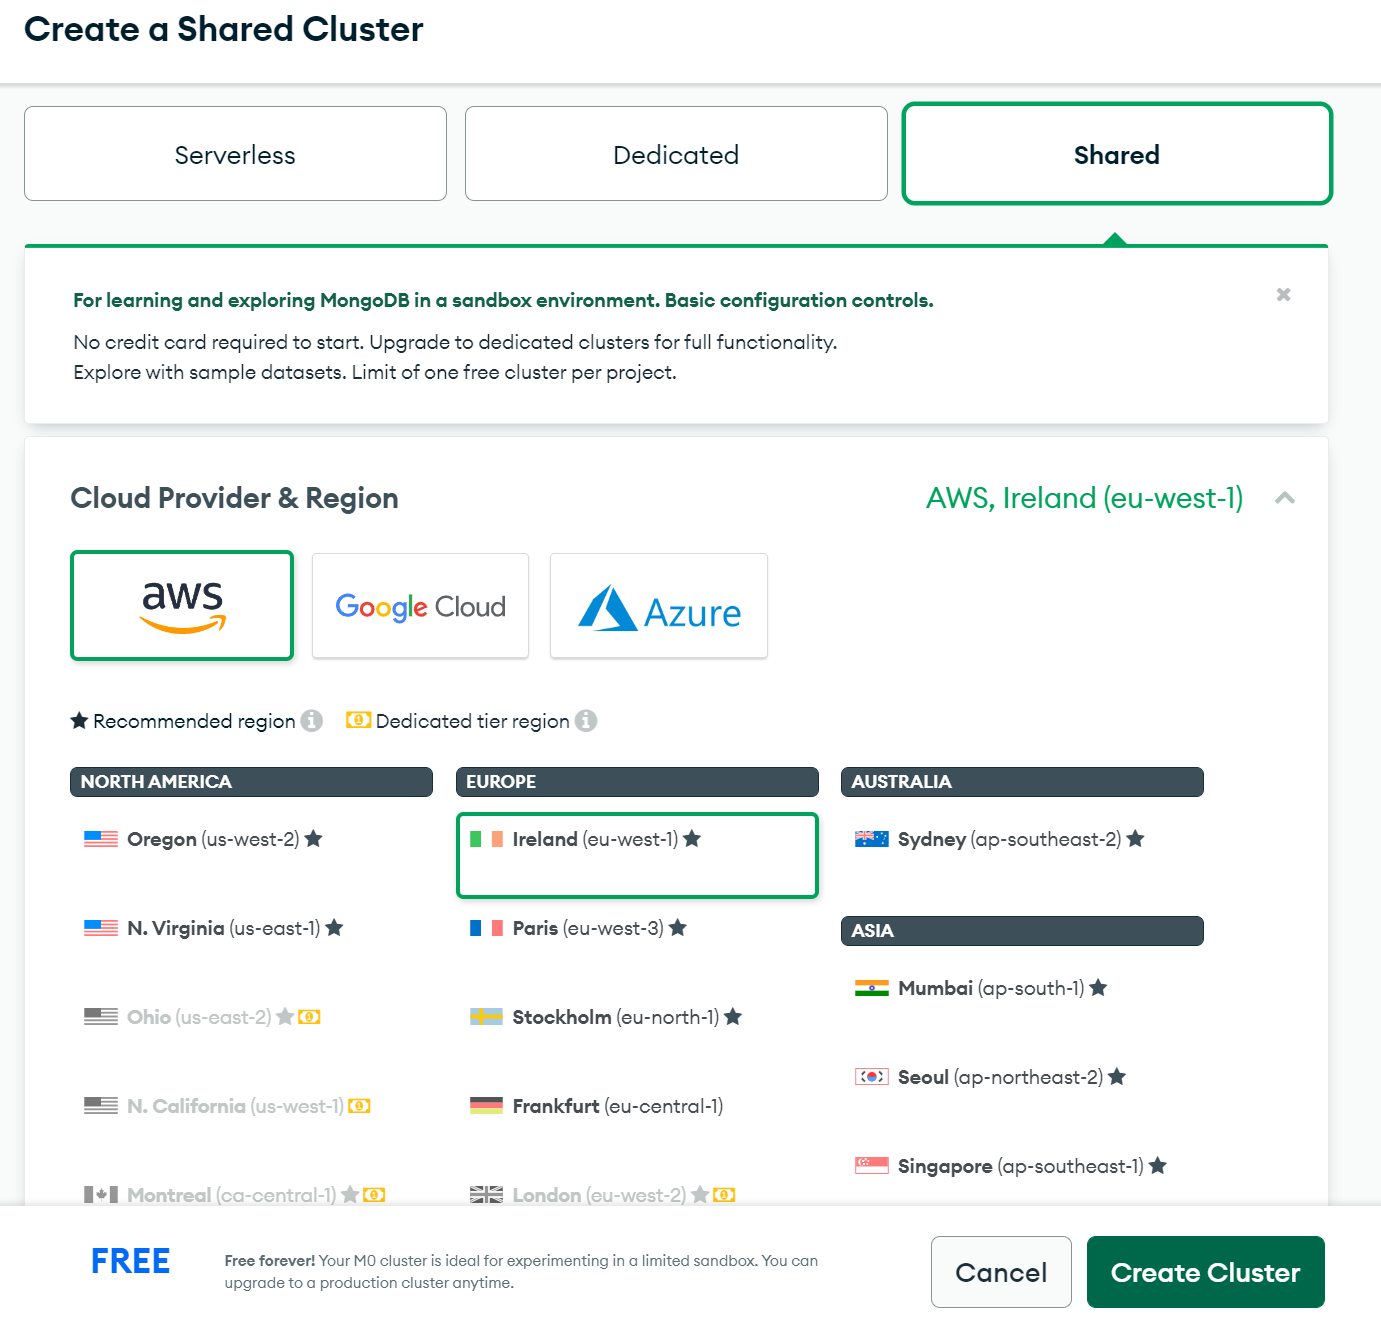
Create a cluster
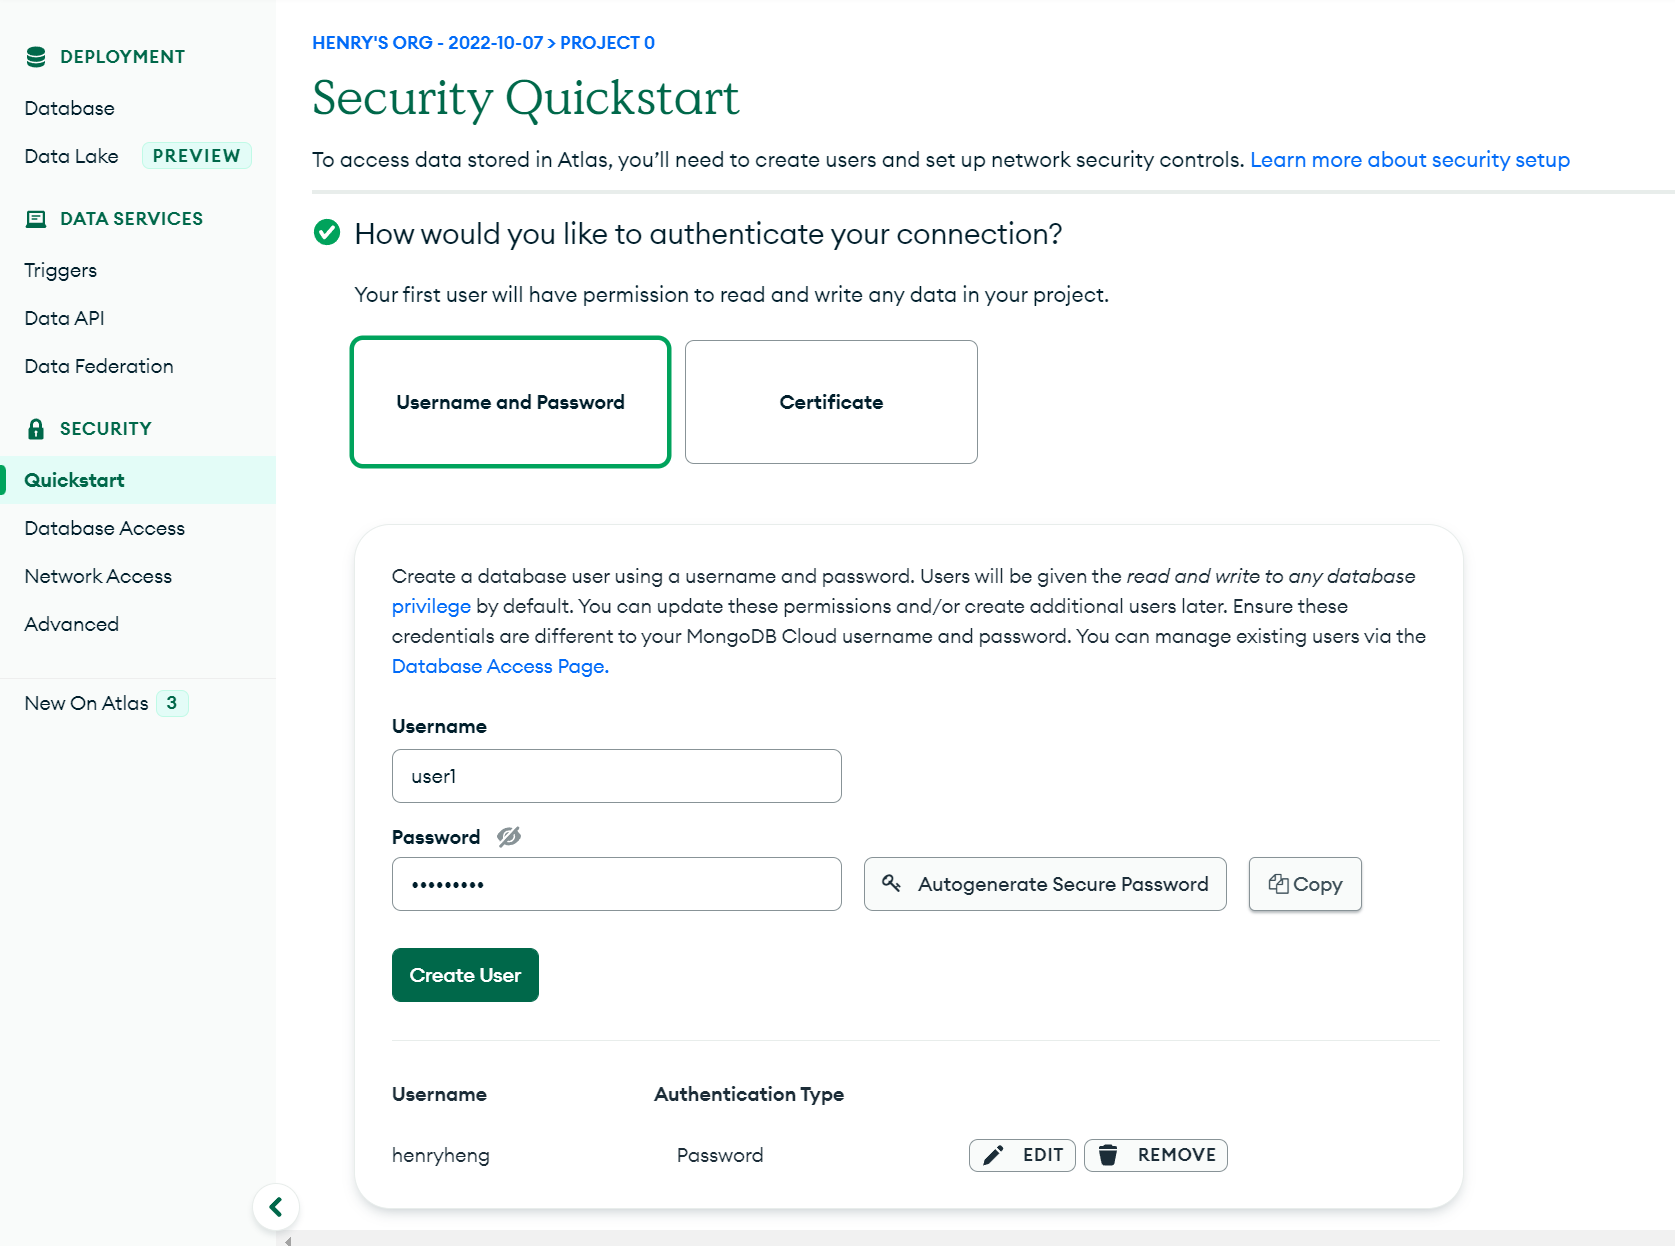
Set up a username and password for database access
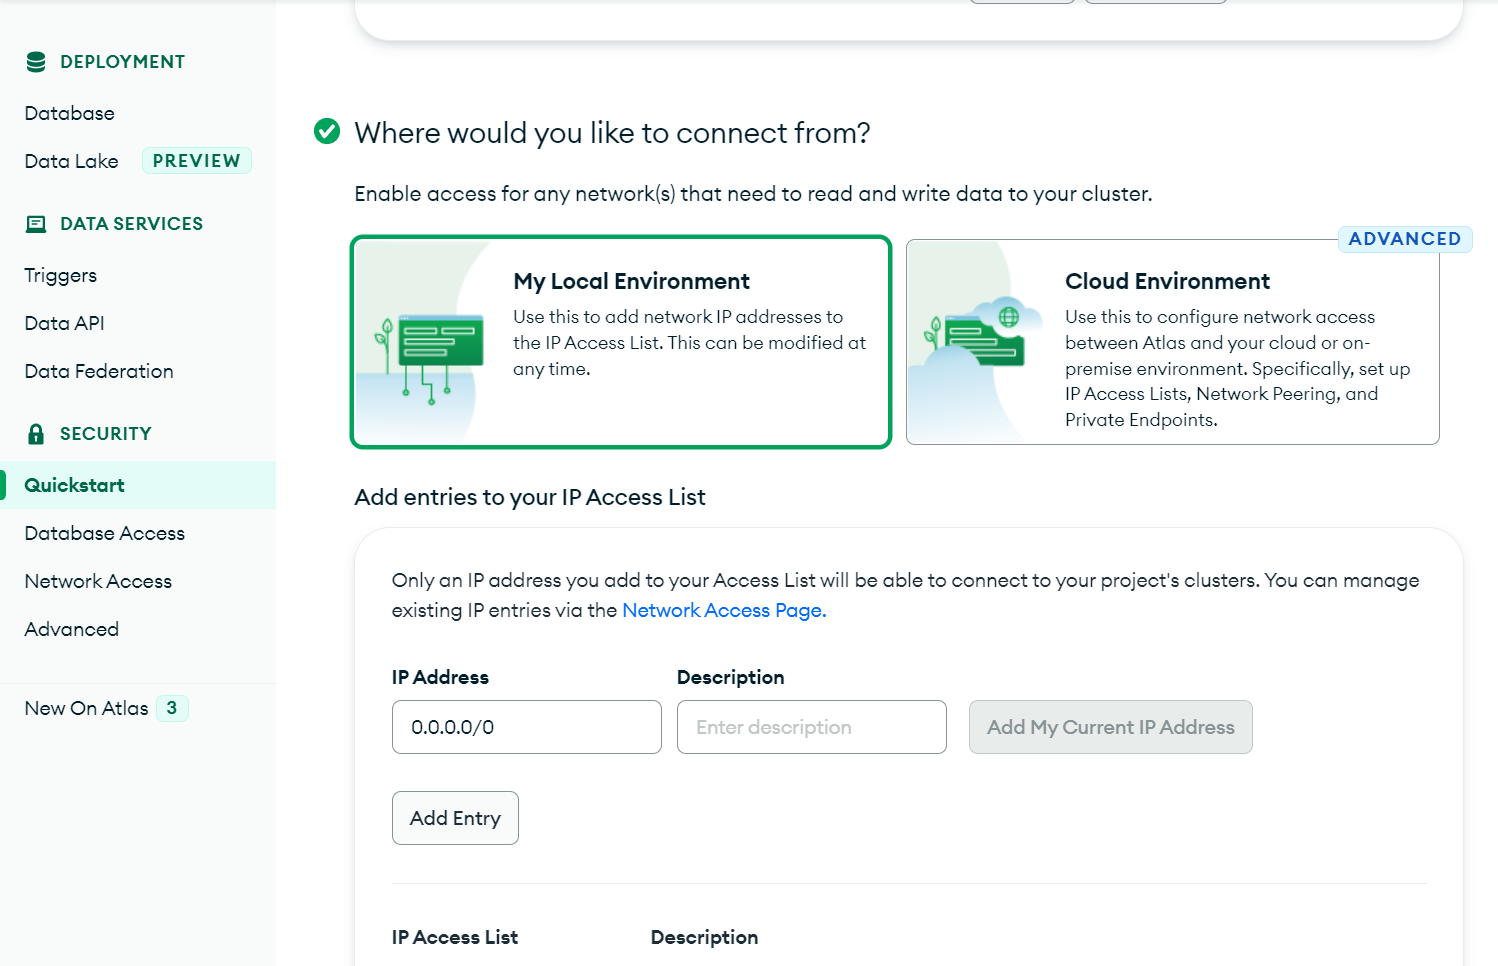
Add IP Access List.
⚠️Setting 0.0.0.0/0 will allow access from everywhere
Now, you should see a cluster in dashboard, click "Connect"
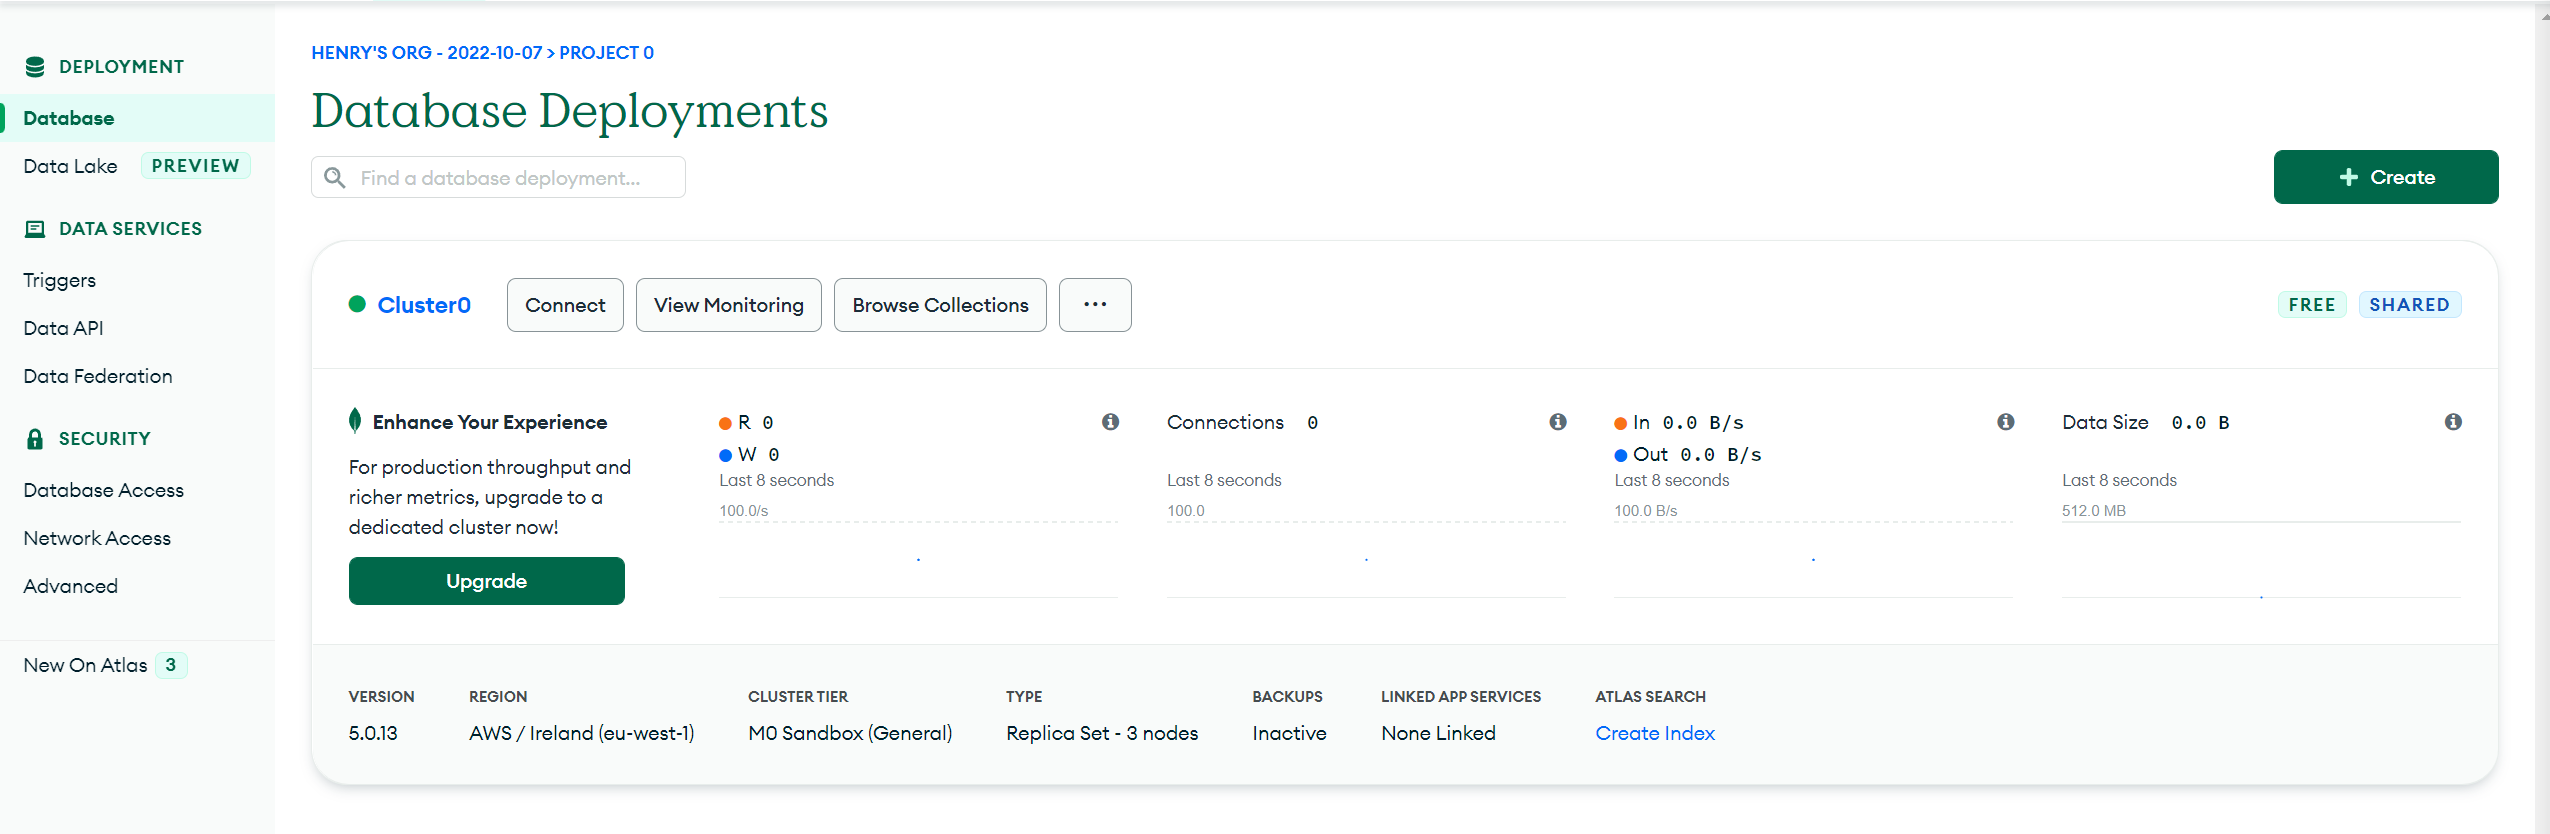
Select "Connect your application"

Copy the mongo url link, replace with your username & password that you've created in Step 4, and add database name
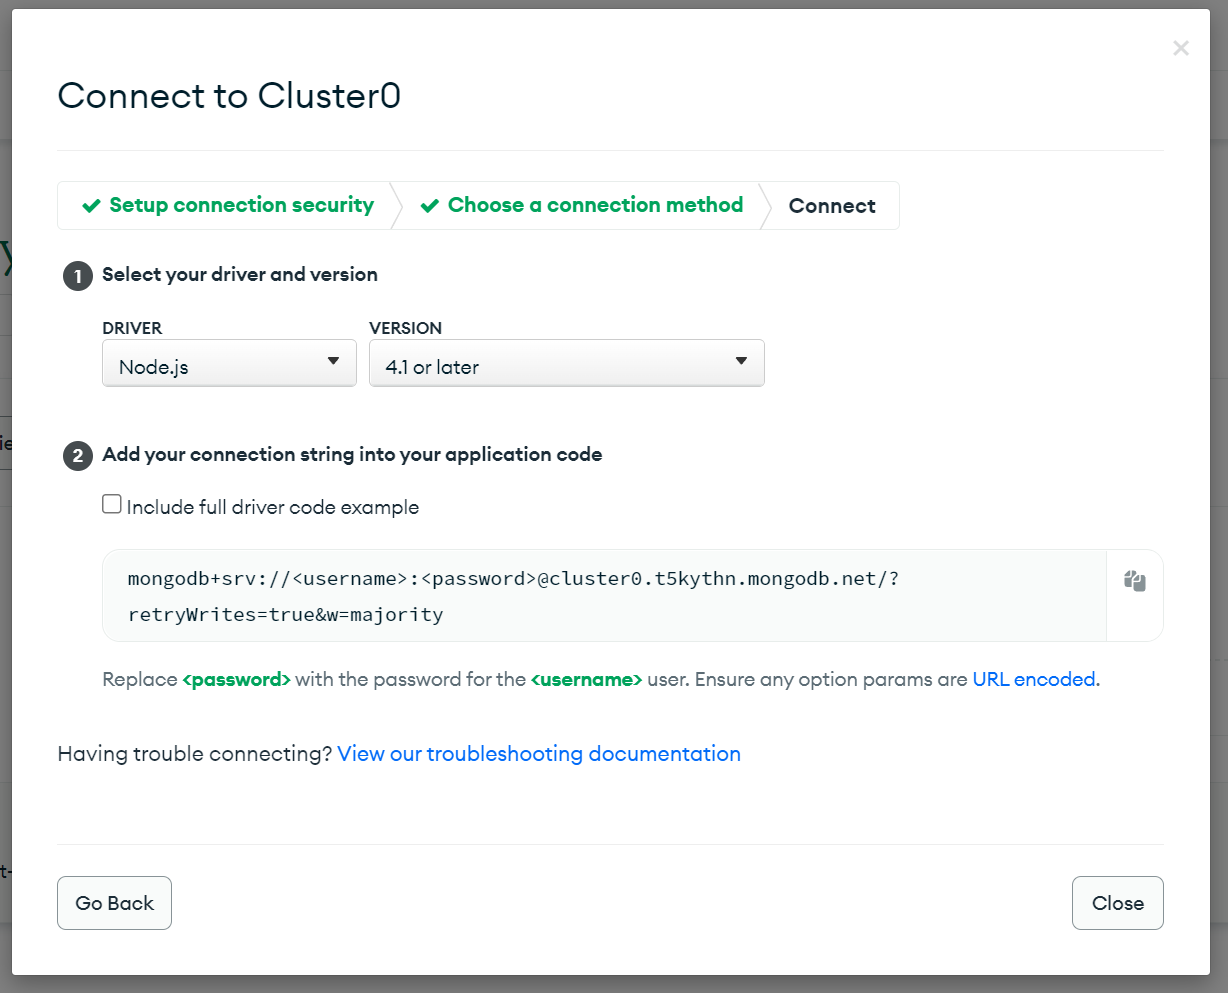
For example:
mongodb+srv://user1:<password>@cluster0.t5kythn.mongodb.net/outerbridge?retryWrites=true&w=majority
🔦 Tunnel
Beware of using Tunnel URL in production
By default, starting Outerbridge will also spins up a tunnel url. You can access the exact same app on this url. A console log will be shown like this:
process.env.TUNNEL_BASE_URL = http://<domain>-<name>-<number>.loca.lt/This is needed for third-party webhook integration such as Alchemy Webhook in order to reach Outerbridge on web. However it should not be used in production because anyone can access the app. To toggle this off:
- Go to
Outerbridge/packages/server - Create one
.envfile or modify the existing one by setting:
ENABLE_TUNNEL = false- Rebuild the app
yarn run build